Playing with the Particle Photon
Note: I wrote a version of this for a company blog last year but I’m publishing it here too, both for posterity as well as to reference in some future posts I’ve planned.
At JSConf 2015 I received a little device called the Particle Photon, a “tiny WiFi development kit”. I’d messed around with Arduinos before (which this seemed similar to), but I didn’t have any IoT related ideas at the time so I stashed it in a drawer and promptly forgot all about it.
One morning a few days ago, as I was rushing back home for the umpteenth time to make sure that I had turned off the water heater (or geyser as we call it in India), I remembered the Photon sitting in my drawer. Perhaps I could use it to alert me when I left the geyser on for too long!
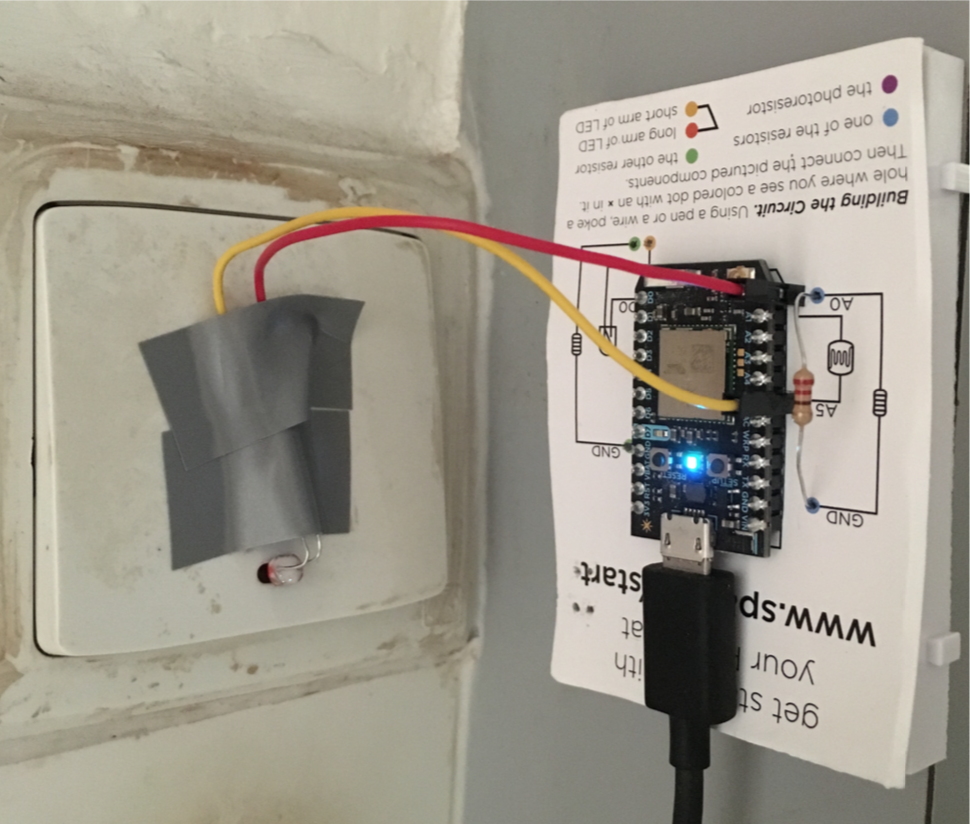
My geyser has a switch that lights up when it’s turned on, so I planned to mount the Photon on top of it and use a photoresistor to detect when the geyser was on (i.e. when the light on the switch would be on). Besides that, I’d also need a way for the Photon to communicate to me how long the geyser had been on for, which is where its WiFi capabilities would come in use.
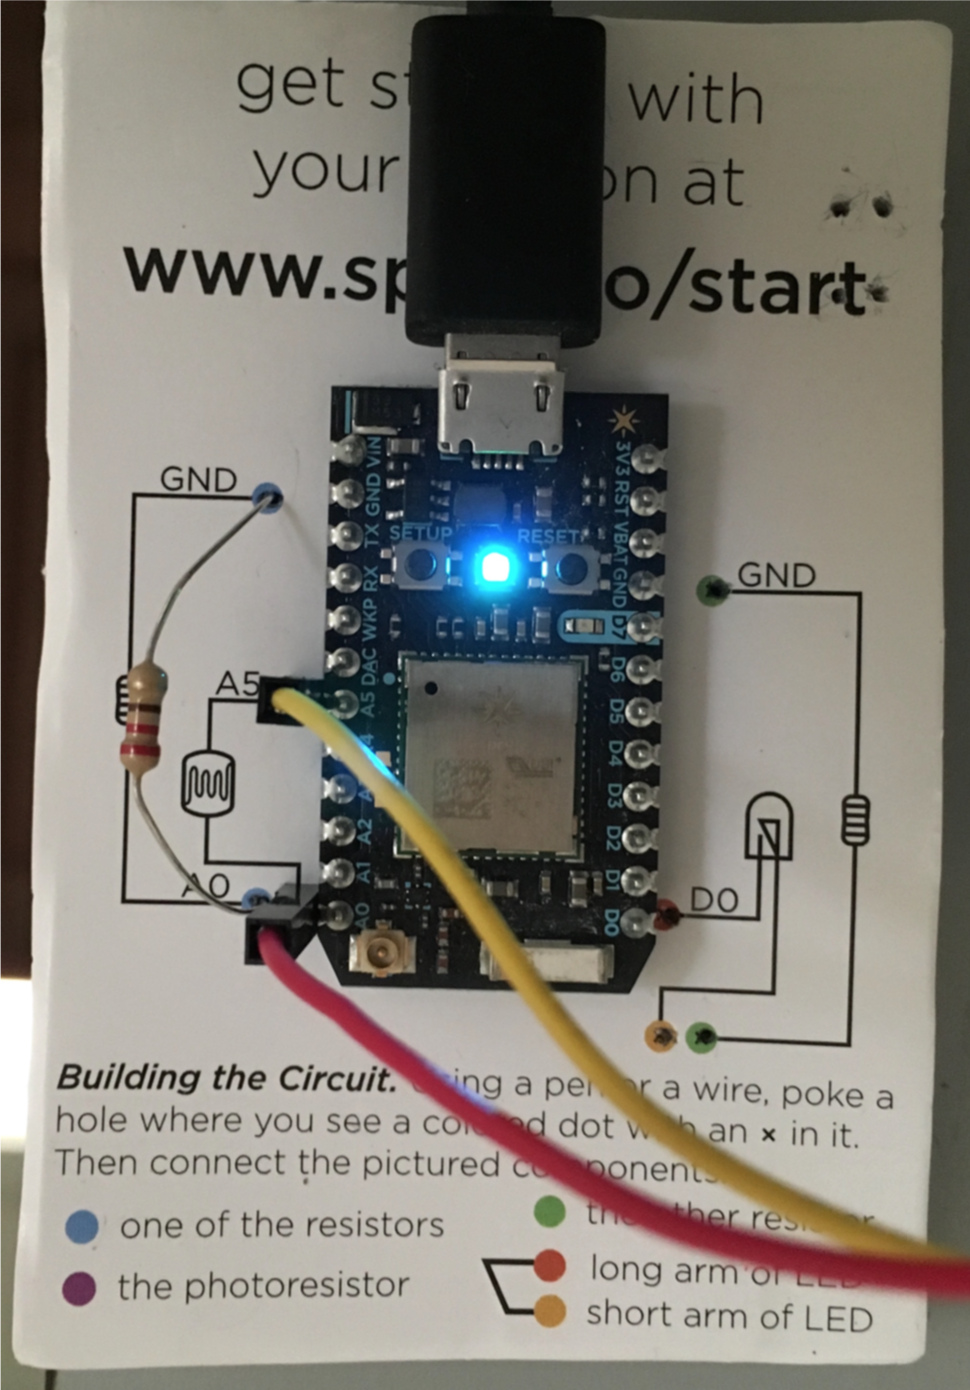
I opened the box to take a look at what was in the kit. The Photon was mounted on a tiny breadboard, and conveniently sandwiched between the device and the board was a sheet of paper with a colourful schematic diagram describing a simple circuit. In the box there were also some resistors, jumper wires, a photoresistor, and an LED – everything that was needed to create the circuit shown. Coincidentally, it was also exactly what I needed for my geyser monitor. A few minutes of plugging in components later, the circuit was done!
Setting up the Photon to connect to the internet was just as easy. Particle provides a phone app called Tinker, which allows you to control the pins on the device by wirelessly reading from and writing to them. Install the app, pair the device, and in all of fifteen minutes, you’re communicating with it over the internet.
Reading and writing to the pins is okay for playing around, but I needed something more friendly that would automatically alert me when the geyser was on too long. In the Particle docs, I found a tutorial for reading values from a photoresistor via an HTTP API. Getting the code examples running was a piece of cake, thanks to the online code editor they provide to deploy changes over-the-air. Now all I needed was to imbibe the device with some information-dispersing capabilities so I’d know when the geyser had been on too long. Particle conveniently includes an API to publish events, which works better than polling an HTTP endpoint for my use case. This is accomplished by exactly one line of code:
Spark.publish("heaterStatus", "on", 60, PRIVATE);
At this point I was pretty much done with the Photon side of things. The next step was to find a way to listen for these events and notify me when the geyser had been on for too long. I was getting ready to learn a little Swift to create an app for sending me push notifications by listening to the Photon when something else caught my eye: Particle has IFTTT integration!
This pretty much eliminated the need to do any app development – I downloaded the IFTTT iOS app, created a recipe that would send me a notification whenever the Photon publishes an event, and voilà, I was done!
All in all, it was extremely enjoyable experimenting with this device. It took way lesser time than I originally thought it would (which is rather rare, as estimations go), and in the days since has already proven to be super useful. At first sight, I thought the Photon was no more than an Arduino with a WiFi shield (which is technically true) but Particle has gone to great lengths in making it super simple to use. The kit comes with useful components, the docs have lots of useful examples, you can publish events, integrate with IFTTT – it almost felt as if they’d read my mind regarding what I wanted to build!
PS: The code I wrote is open sourced on GitHub. It’s a surprisingly small amount of C/C++, and is quite readable even if you’re not familiar with the language.
Comments
No comments.
Leave a Comment